説明
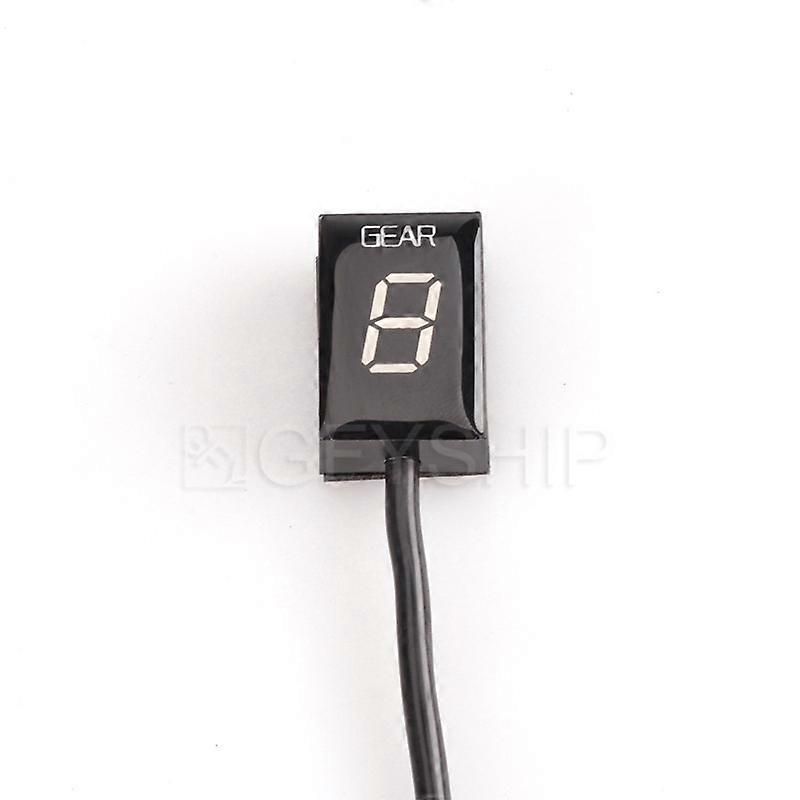
For Aprilia ALL Models With Digital Trip / ODO METER ALL YEARS Motorcycle 1-6 Level Gear Indicator Digital Gear Meter
Features:
Condition:
Color:Black
Light Color: Red/Blue/Green
1-6 Gear display
Fitment:
For Aprilia ALL With Digital Trip/ODO ALL YEARS
InstructionsGuide
:
You need to connect 4 wires to the bikes wiring harness. Good quality quick connectors are supplied (4 pcs wire taps). No need to cut any wires and no need for soldering.
All connections can be done either under the fuel tank, at the ECU box or behind the instrument cluster.
The table below shows the connection overview:
GFYSHIP wire
Connect to
Red
+12V switched power lead
Black
Ground lead or chassis ground
White
Speed Signal, tap anywhere between the Speed Sensor and instrument cluster.
On some ABS models, tap the speed signal anywhere between the ABS computer and ECU box.
Green
Tacho signal, tap anywhere between the ECU box and instrument cluster.
Alternatively, tap the signal wire from the 2-wire
Crankshaft Sensor (Pickup coil), anywhere between the sensor and ECU box.
To complete the install, it is recommended that you consult with your dealer and/or refer to the Service Manual available for your bike.
Due to the large number of bike models and vehicles compatible with this Kit, model specific wire colors and install instructions are not described in this document.
1.
The ignition key should be in OFF position. Remove the seat, raise and support the fuel tank
2.
Locate the Speed Sensor coupler.
A. Most motorcycles have the speed sensor mounted on the gearbox. Others have the sensor mounted either at the front or at the rear wheel.
B. Trace the cable until you find the speed sensor coupler. It is a 3-pole connector (except BMW, which use 2-pole).
C. If in doubt, check the bikes Service Manual or ask your dealer for the location of the Speed Sensor coupler.
Confirmation:
Separate the Speed Sensor coupler. Rotate the wheels while the ignition is on. The speedometer should indicate 0. If so, turn the ignition off, reconnect the coupler and proceed to the next step. Otherwise, if the speedometer registers a speed other than 0, you have not disconnected the correct coupler and need to look again.
ABS models:
Some bikes equipped with ABS do not have a speed sensor (e.g. Yamaha FJR1300 2006+, VMAX 2009+, Ducati ST4 2005+). The speed signal is generated by the ABS computer.
On these bikes, tap the speed signal wire between the ABS computer
and ECU box. Refer to the bikes Service Manual for the wiring.
3.
Connect the GFYSHIP Black wire to the Ground wire of the sensor, using the Red wire tap connector supplied.
4.
Connect the GFYSHIP Red wire to a switched +12V power lead, such as the hot wire of the rear brake light switch, or to a power lead at the fusebox. You can use the Power lead of the speed sensor if its voltage is higher than 9V.
Again, use the Red wire tap connector supplied.
6.
Connect the GFYSHIP Green wire to the Signal wire of the Crankshaft sensor (Pickup coil). The Crankshaft sensor is inside the crankcase, usually near the alternator. It has two wires. Alternatively, tap the tacho signal wire near the ECU box. Again, use the Red wire tap connector supplied.
Setup
:
You need to setup the module after installation. When ignition is turned on, the
display counts backwards (6 to 1) indicating that the memory is clear.
- Raise the rear wheel off the ground by using a stand, and start the
engine in Neutral. (If you do not have a stand, you may setup the unit while
riding. Find a long, straight road with light traffic.)
- The display will blink 1.
Select first gear, release the clutch, and keep the RPM above idle speed.
The display is blinking faster while the unit is learning the gear.
- When the display shows 2, select second gear.
Repeat this process until all gears are thought (5 or 6).
The unit is programmed and should indicate the gears correctly.
Now, when ignition is turned on, the display counts forward (1 to 6) indicating
that it is fully functional.
Package Include:
1 x
Gear Indicator
-
ブランド:
Unbranded
-
カテゴリー:
ラジコンバイク
-
色:
Blue Light
-
Fruugo ID:
312872403-698475033
-
EAN:
592080426318
製品安全情報
以下に概説するこの製品に固有の製品安全性情報を参照してください。
以下の情報は、この製品を販売する独立したサードパーティ小売業者によって提供されています。
製品安全ラベル

安全上の警告:
Not suitable for children under 36 months, Choking Hazard, Adult supervision recommended
材料:
Polymethylsilsesquioxane
メーカー型番:
592080426318
モデル番号:
592080426318
シリアルナンバー:
592080426318
バッチ番号:
592080426318