説明
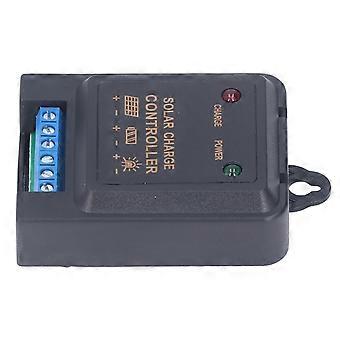
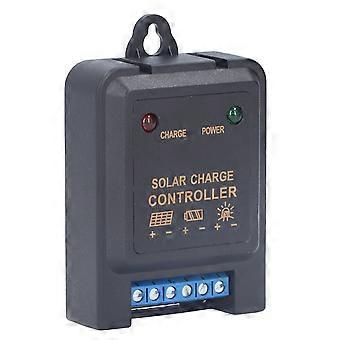
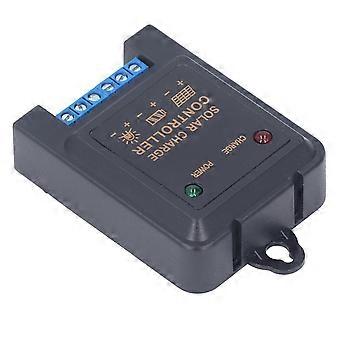
Item Type: Solar Charge Controller
Model: JC0603
Material: ABS
Application: For solar charge and discharge control.
Rated Voltage: 6V or 12V.
Strong Charging Voltage: 7.4V or 14.8V.
Balance Charging Voltage: 7.25V or 14.5V.
Float Voltage: 6.85V or 13.7V.
Under Voltage Protection: 5.4V or 10.8V.
Brownout Recovery: 6.5V or 13V.
No Load Current: 6mA
Charging Circuit Voltage Drop: 0.2V
Discharge Circuit Voltage Drop: 0.1V
Maximum Charging Current: 3A
Maximum Load Current: 3A
Controller Protection: Overload protection, reverse connection protection, over discharge protection, over charge protection, short circuit protection, etc.
Charging Method: PWM Regulation Method
Rain Control: Wait until the rainwater in the sink to soak into the rain control line.
Use Altitude: 5500m, above 2000m need to reduce power usage.
Working Temperature: -20~55
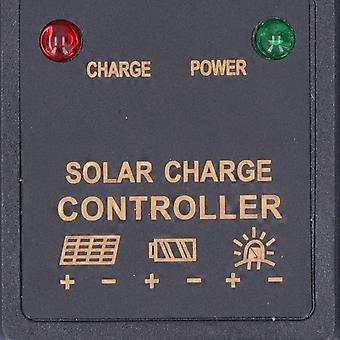
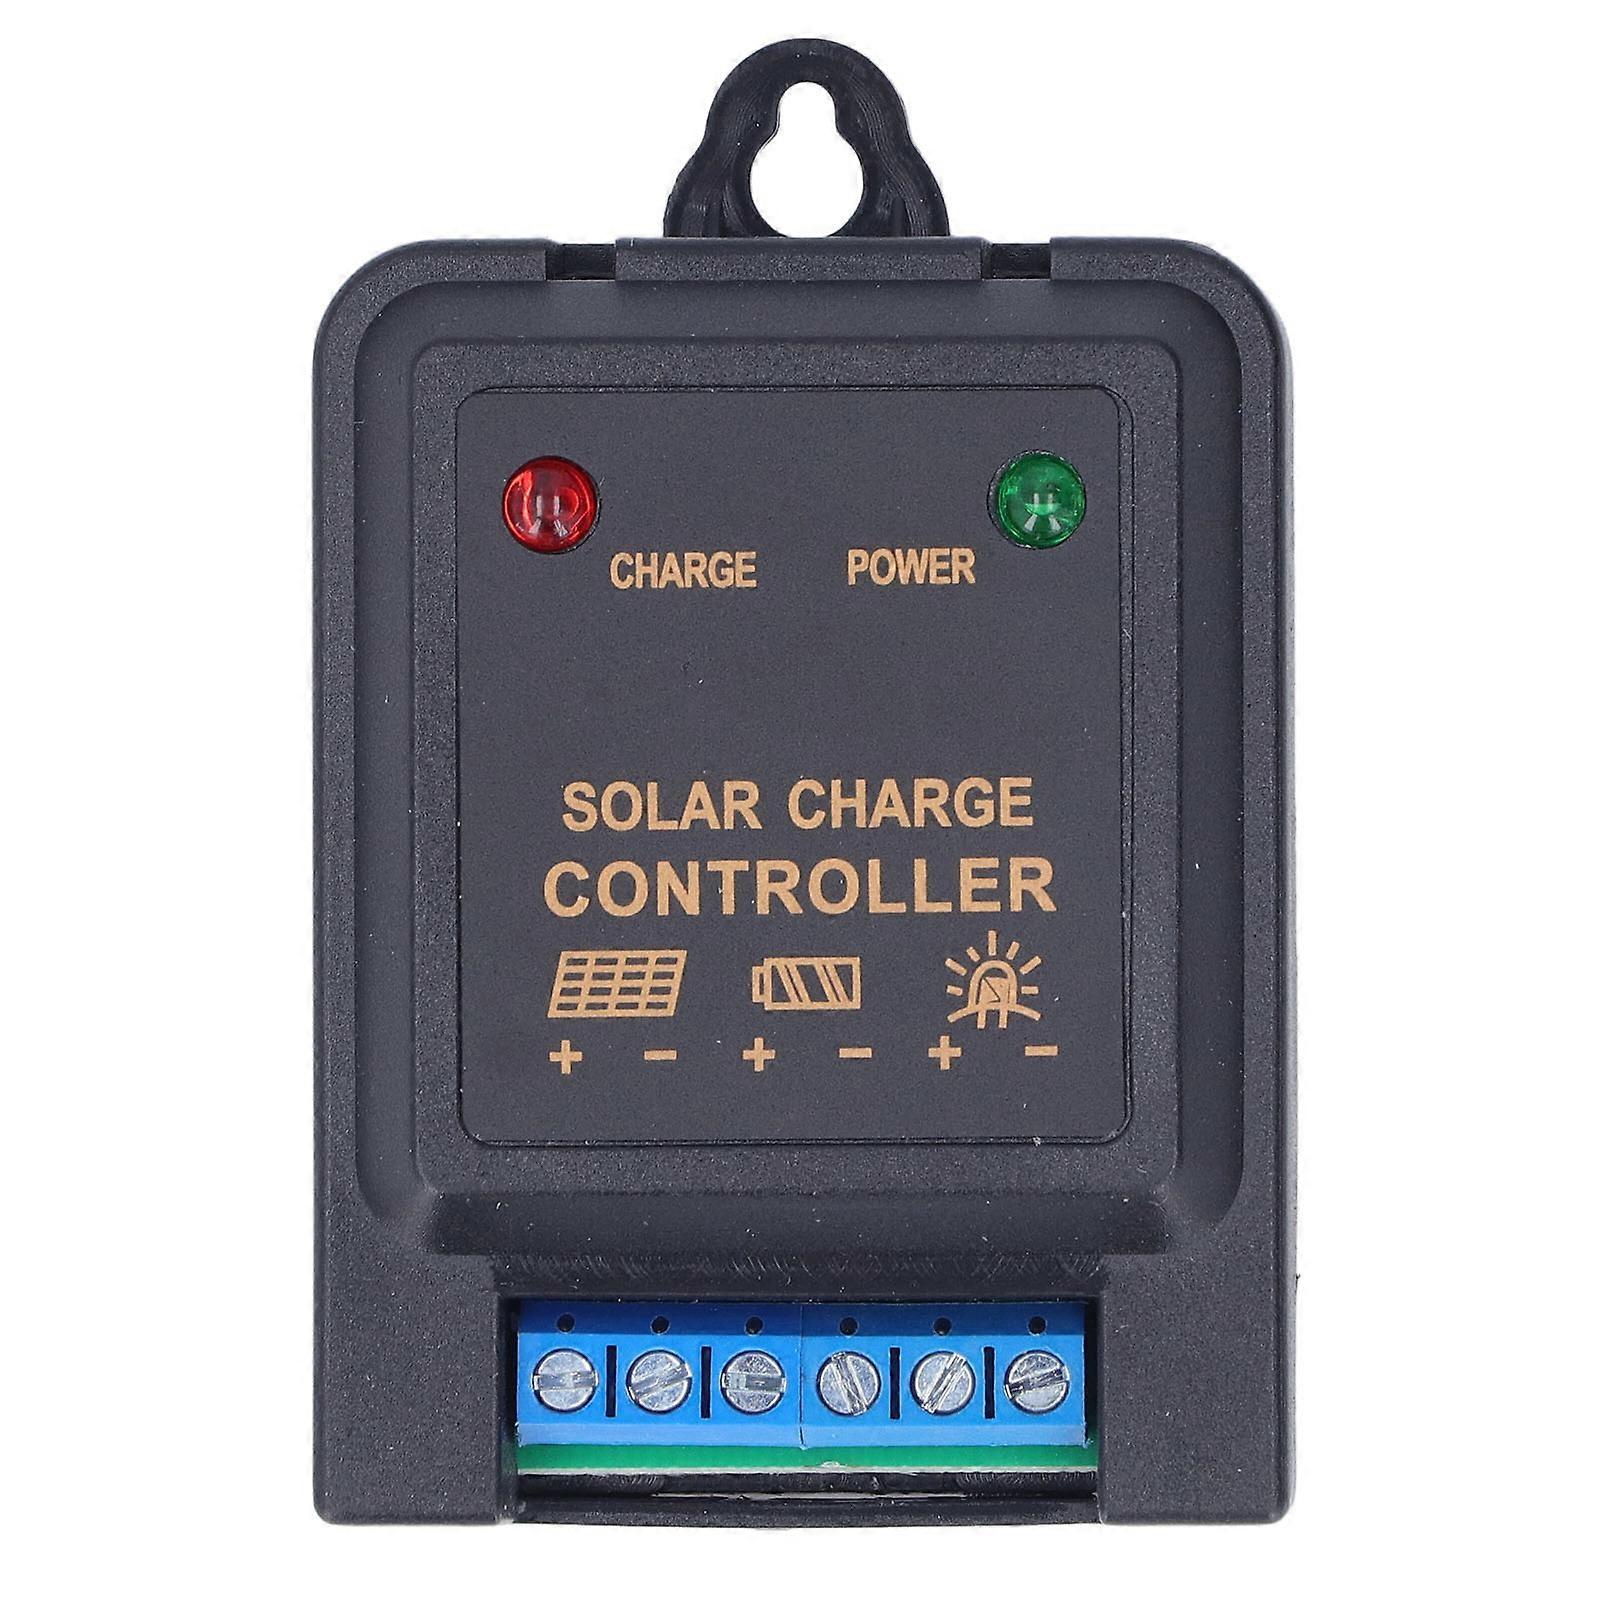
LEDSTATUSFUNCTION
CHARGECLOSEDAt night or the battery is not connected.
ALWAYS ONBattery in equalization charging status.
POWERGREEN LIGHT ONController normal output.
GREEN LIGHT OFFController output protection.
How to Use:
1. Installation Environment: Install in a dry and ventilated place.
2. Wiring Method:
A. Battery, positive pole is on the left, and ensure the connection is correct.
B. Then connect the battery board, positive pole is on the left, the connection is correct, the charging indicator light is on, and it enters the charging state. Otherwise check the wiring.
C. Connect the light source again, the bulb and the positive pole are on the left, the connection is correct, the bulb is on. Besides, the street lamp type light is long off during the day, and the under voltage and over voltage are off for a long time. Otherwise check the wiring.
D. Finally, connect the rain control line, connect the rain control line to the sink above the lamp, and check whether it is reliable. The rain control line should not be too long, not more than 1 meter. Too long will affect the sensitivity of the rain control. The shorter it is, the more sensitive it is.
Note: The above steps must be connected in order, otherwise the controller will be damaged.
3. The controller contains a DIP switch, 8421 codes timing, so the user must open the shell to operate regularly. After opening the shell, you can see the DIP switch. The specific operations are as follows:
The DIP switches, 1234 correspond to the timed time, 8421, respectively:
A. If the user needs to set the timing for 6 hours, just dial up the corresponding dials of 2 and 3 to set the LED light to be on for 6 hours at night. For example, if the timing is 11 hours, just dial dial the corresponding dial codes of 8, 2 and 1 up. You can set the LED light to be on for 11 hours at night.
B. If the user dials all the dial codes, 8421, up, the controller will default to full light control
C. If the user dials all the dial codes, 8421, down, the controller will default to the user system, and the load has output 24H.
-
Fruugo ID:
325647338-720994097
-
EAN:
7734873416011
製品安全情報
以下に概説するこの製品に固有の製品安全性情報を参照してください。
以下の情報は、この製品を販売する独立したサードパーティ小売業者によって提供されています。
安全上の警告:
Do not let your children touch this product alone to avoid swallowing or other injuries.