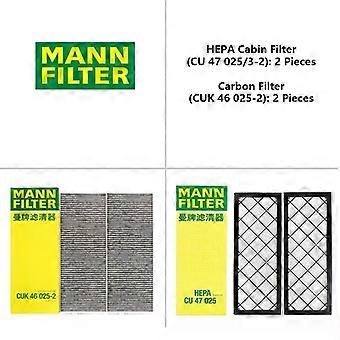
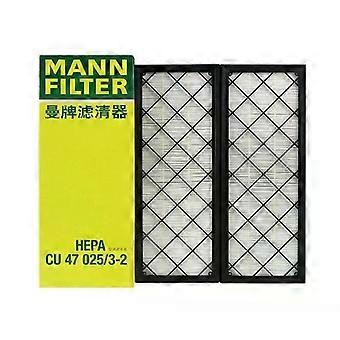
説明
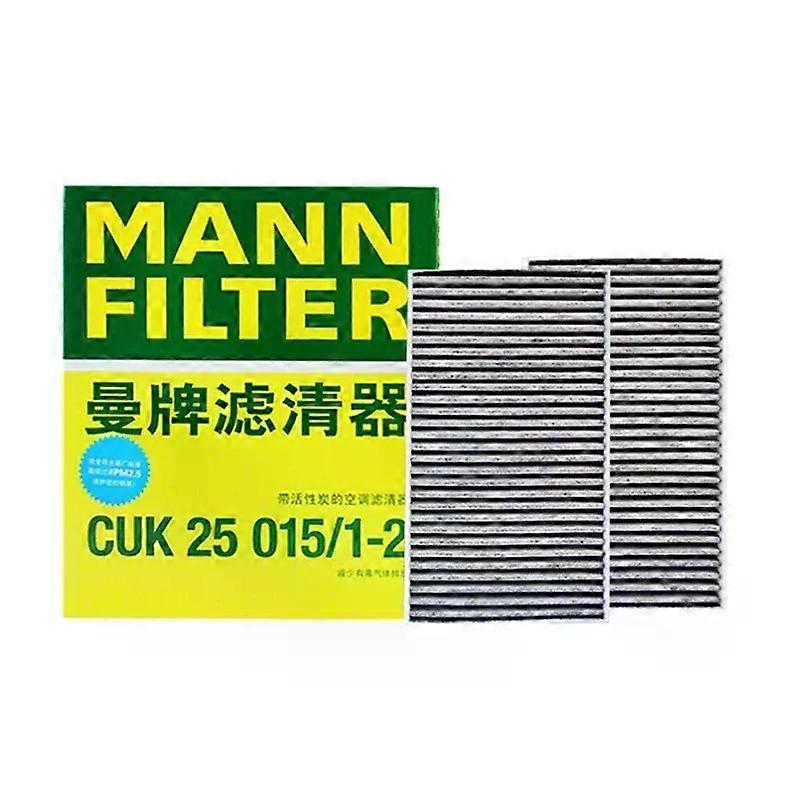
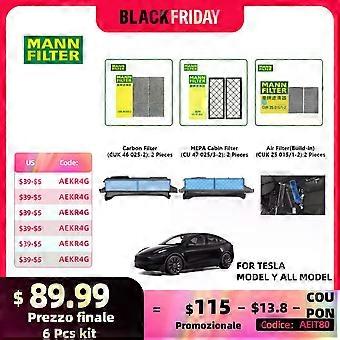
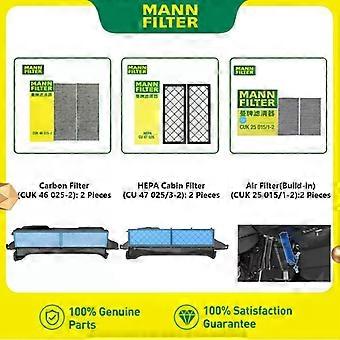
Hign-concerned Chemical:NonePlacement on Vehicle:HVACCountry/Region of Manufacture:GERMANInterchange Part Number:CU47025-2Other Part Number:CUK25015/1-2 CUK46025/1-2 CU47025/3-2Item Weight:420g 1100g 980gItem Height:31mmItem Width:176mmItem Length:460mmManufacturer Part Number:CUK25015/21-2 CUK46025/1-2 CU47025/3-2Brand Name:MANN FILTEROrigin:Mainland ChinaOEM NO.:1107681-00-A 1107681-00-B 1107681-00-CCategory:Car accessoriesTo replace the build-in air filters:
1.Turn off the climate control system.
2.Move the front passenger seat fully rearwards and remove the front passenger floor mat.
3.Use a clip pry tool to carefully release the push clips that secure the front passenger footwell cover to the instrument panel. Then, while supporting the footwell cover, disconnect the two electrical connectors and move the footwell cover aside.
4.For the light, carefully press down on the tab while releasing the connector.
5.For the speaker, carefully angle the vehicle-side connector so that the small tab releases from the hole in the footwell cover-side connector while releasing the connector.
CAUTION
To avoid damage, do not pull on the wires when disconnecting the connectors. When disconnecting the connectors, make sure to pull from the plastic on the connectors themselves.
6.Working from top-to-bottom, use a trim tool to carefully release the right side panel from the center console.
7.Remove the 6 mm screw that secures the cabin filter cover to the heating, ventilation, and air conditioning (HVAC) module, then release the cabin filter cover and move it aside. On some vehicles, tabs replace the 6 mm screw: use your index finger and thumb to squeeze the two tabs at the bottom of the cabin filter cover. Tilt the cover outward to remove.
8.Fold the upper cabin filter's pull tabs outward.
9.Holding the tabs on the upper cabin filter, pull the upper filter out from the HVAC module.
10.Holding the upper tab on the lower cabin filter, pull the lower filter upwards and then out from the HVAC module.
11.Ensuring that the arrows on both new filters face towards the rear of the vehicle, insert the lower cabin filter into the HVAC module and lower it into place. Then, insert the upper cabin filter above it.
12.Fold the tabs inward so that the cabin filter cover can be installed.
13.Install the cabin filter cover by engaging the lower cover tab then securing the 6 mm screw. Tighten the screw to 1.2 Nm/0.89 ft-lbs. On vehicles with tabs instead of a 6 mm screw: maneuver the top notch of the cabin filter cover into place, then secure the tabs at the bottom of the HVAC module.
14.Reconnect the two electrical connectors to the components in the front passenger footwell cover, then resecure the cover with the push clips.
15.Align the right side panel with the front and rear locator slots on the center console, then apply pressure until all of the clips are fully secure.
16.Reinstall the front passenger floor mat then move the front passenger seat back into place.
To replace the HEPA cabin filters&carbon filters:
Removal:
Open the hood.
Remove the vehicle's underhood apron by inserting a small, non-marring flat tool or your fingers underneath the panel. Pull up to loosen the clips and set the underhood apron aside.
Image of vehicle with front trunk open and rear underhood apron highlighted
Using a 10mm socket, remove the bolt that attaches the washer fluid reservoir neck to the underhood storage unit.
Closeup of bolt that attaches washer fluid reservoir neck to the underhood storage unit
Remove the washer tank neck from the vehicle. If the windshield washer reservoir is full, some washer fluid may leak out.
Note
You do not need to remove the hose from the neck.
Closeup of tabs that hold washer tank neck in place
With a 10mm socket, remove the bolts (x2) that attach the HEPA filter assembly to the vehicle.
Highlighted bolts (x2) on HEPA filter assembly
Carefully remove the HEPA filter assembly from the vehicle by tilting the rear edge of the filter assembly up past the brake fluid reservoir and lifting the filter assembly out of the vehicle, taking car not to bump into or damage other components.
Image showing HEPA filter assembly being removed by lifting it up and out of vehicle
With a Torx T20 screwdriver, remove the screws (x10) that attach the HEPA filter cover to the HEPA filter assembly, then remove the cover from the assembly.
Screws (x10) highlighted on HEPA filter assembly
Remove the old carbon filters from the filter housing.
Remove the old HEPA filters from the HEPA filter housing by carefully prying the rubber gasket to release the filter along the gasket.
Installation:
Place the new HEPA filters into the HEPA filter assembly. Flex the housing outward to make sure the seal is fully seated around the filters.
Closeup of HEPA filters p
-
ブランド:
Unbranded
-
カテゴリー:
自動車用エアコン
-
色:
CUK25015-1-2
-
Fruugo ID:
419606134-884341435
-
EAN:
1289096048441
製品安全情報
以下に概説するこの製品に固有の製品安全性情報を参照してください。
以下の情報は、この製品を販売する独立したサードパーティ小売業者によって提供されています。
製品安全ラベル

安全上の警告:
WARNING! TO AVOID DANGER OF SUFFOCATION,KEEP AWAY FROM BABIES ANDCHILDREN. DO NOT USE IN CRIBS/BEDSOR PLAY PENS. THIS BAG IS NOT A TOY.
