説明
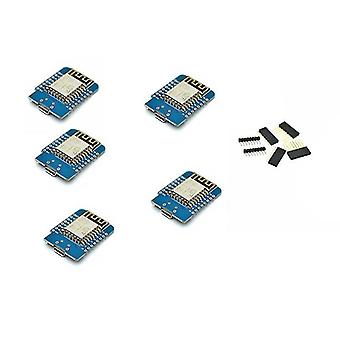
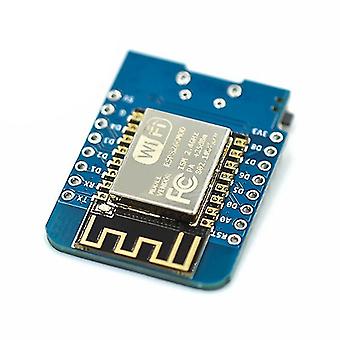
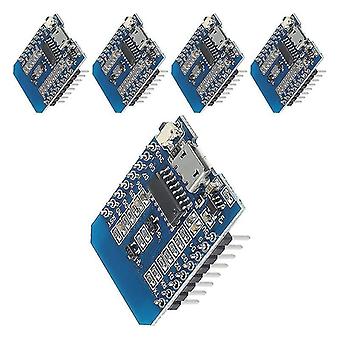
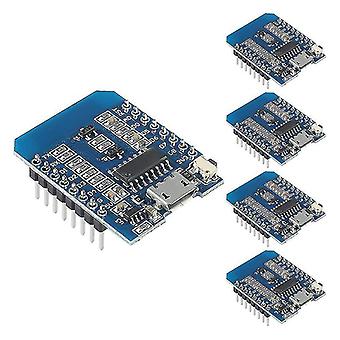
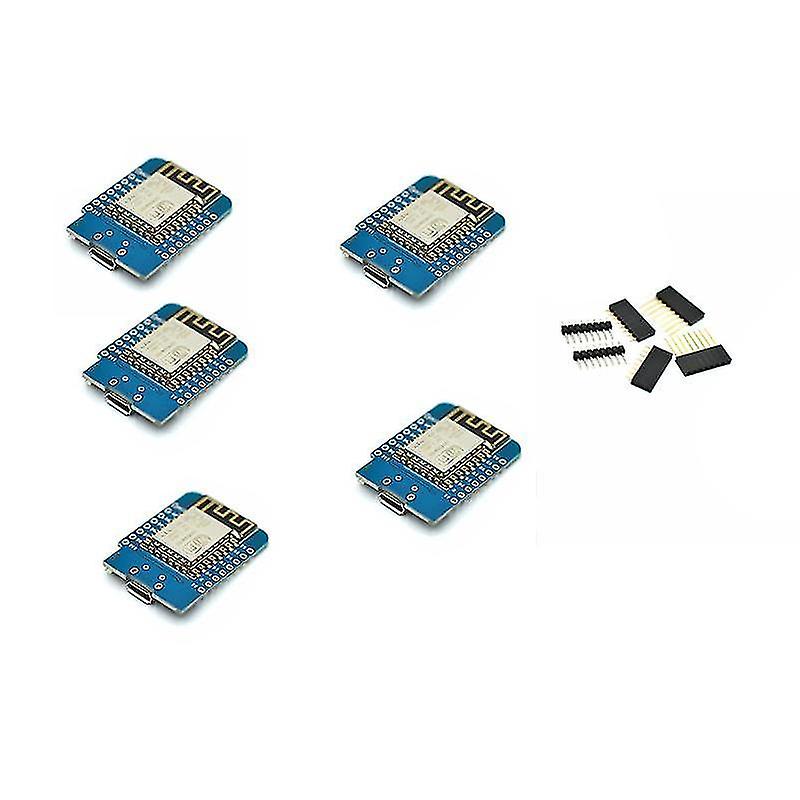
How to get it started in for : Setup driver. Before you mini D1 boards, you need set up CH340g driver. Python. On Windows you need install Python 2.7.10. On Linux & OSX, you 't need install it, comes preinstalled with OS. Installing Hardware package "Boards Manager or ". We recommend using , you can always get the latest version.Getting setup in for IDE: 0. You will need a link to copy and paste, but I can't link it here. Search Google for " ide esp8266 board manager" -- the first result should be for a "readthedocs" website, and should have all the instructions you need. However, for I will list here as .1. you have Python installed (this might be optional -- I haven't installed Python directly, but I installed the for IDE and had no issues). 2. Open the for IDE and go to File -- Preferences. 3. Under "Additional Board Manager URLs" at the bottom, paste the link (it's to a JSON file) you copied from the other page into box and hit "OK"4. Go to -- Board -- and select Board Manager (near the top) 5. Search for "ESP8266" and install the result (should be from "ESP8266 Community")Selecting the board for your sketch: 1. Go to -- Board and select either "(WEMOS) D1 & mini" or "NodeMCU 1.0 (12-E Module)" - either of these worked . 2. Be to select which port the board from - Port. 3. Check the upload rate is 115200 (it should already be)Main Chip: ESP8266 CH340G.WIFI Development Board, 4M bytes.supported (except D0).Support OTA on line.-USB connection.analog input (3.3V max input).5V 1A switching supply onboard.11 digital input/output pins, all pins have interrupt/pwm/I2C/one-wire and a -USB connection.Test the board with "Blink":1. Go to File -- Examples -- ESP8266 and select "Blink" at the top2. You shouldn't need to change anything, so click Upload3. Once it's finished, check your blue led light is blinkingTest the board's WiFi with for "ArduinoOTA":0. This isn't necessary, but to be your WiFi module actually works you need to try connecting1. Go to File -- Examples -- ArduinoOTA and select "BasicOTA"2. Only changes you have to make are on lines 7 and 8 for your WiFi SSID and password3. (Optional) Save the sketch4. Go to -- Port: If all was successful, you should be able to see the ESP8266 board here ( whatever) -- select it5. Hit upload and open the serial monitor6. Once the program is finished uploading, make to change the baud rate to 115200 on the serial monitor7. Check to make you get the "" message, followed by an IP addressMaterial: PC+MetalColor as shownPackage Contents:5 x NodeMcu Mini D1 ModuleOnly the above package content, other products are not included.Note: Light and different displays may the color of the item in the a little different from the real thing. The measurement allowed error is +/- 1-3cm.
-
Fruugo ID:
211884639-451764977
-
EAN:
6789260186931
製品安全情報
以下に概説するこの製品に固有の製品安全性情報を参照してください。
以下の情報は、この製品を販売する独立したサードパーティ小売業者によって提供されています。
製品安全ラベル

安全上の警告:
Not suitable for children under 6 years old - Adult supervision recommended