説明
Heat Conduction Experiment Kit for Thermal Physics Classroom Visual Demo and Material Comparison
Key benefits
Visual, handson demonstration of thermal conductivity differences among solid materials using identically sized heatconduction rods.
Fair, direct comparison since all rods have the same thickness and length.
Classroomfriendly setup with a simple heating procedure and repeatable results.
Easy maintenance: after use, cool, wipe clean, oil, and store with care to avoid damage.
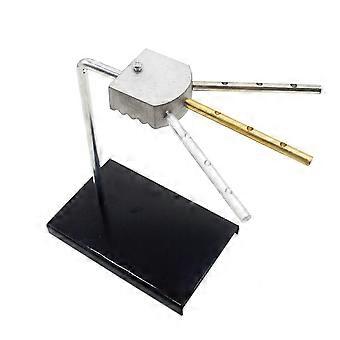
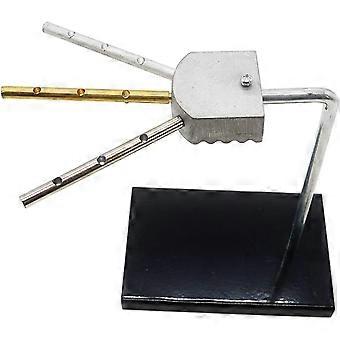
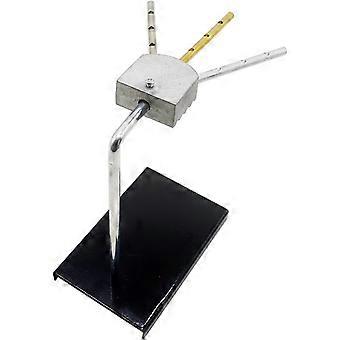
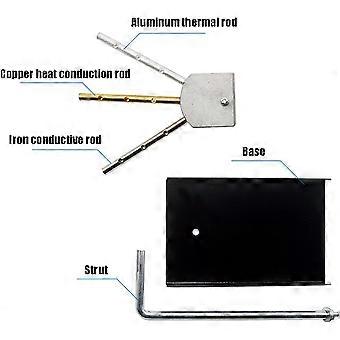
What it includes and how it works
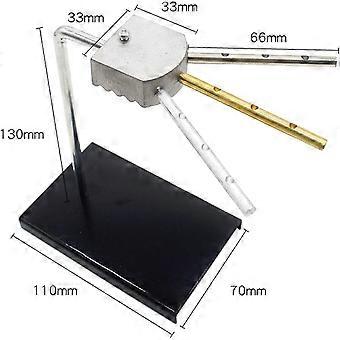
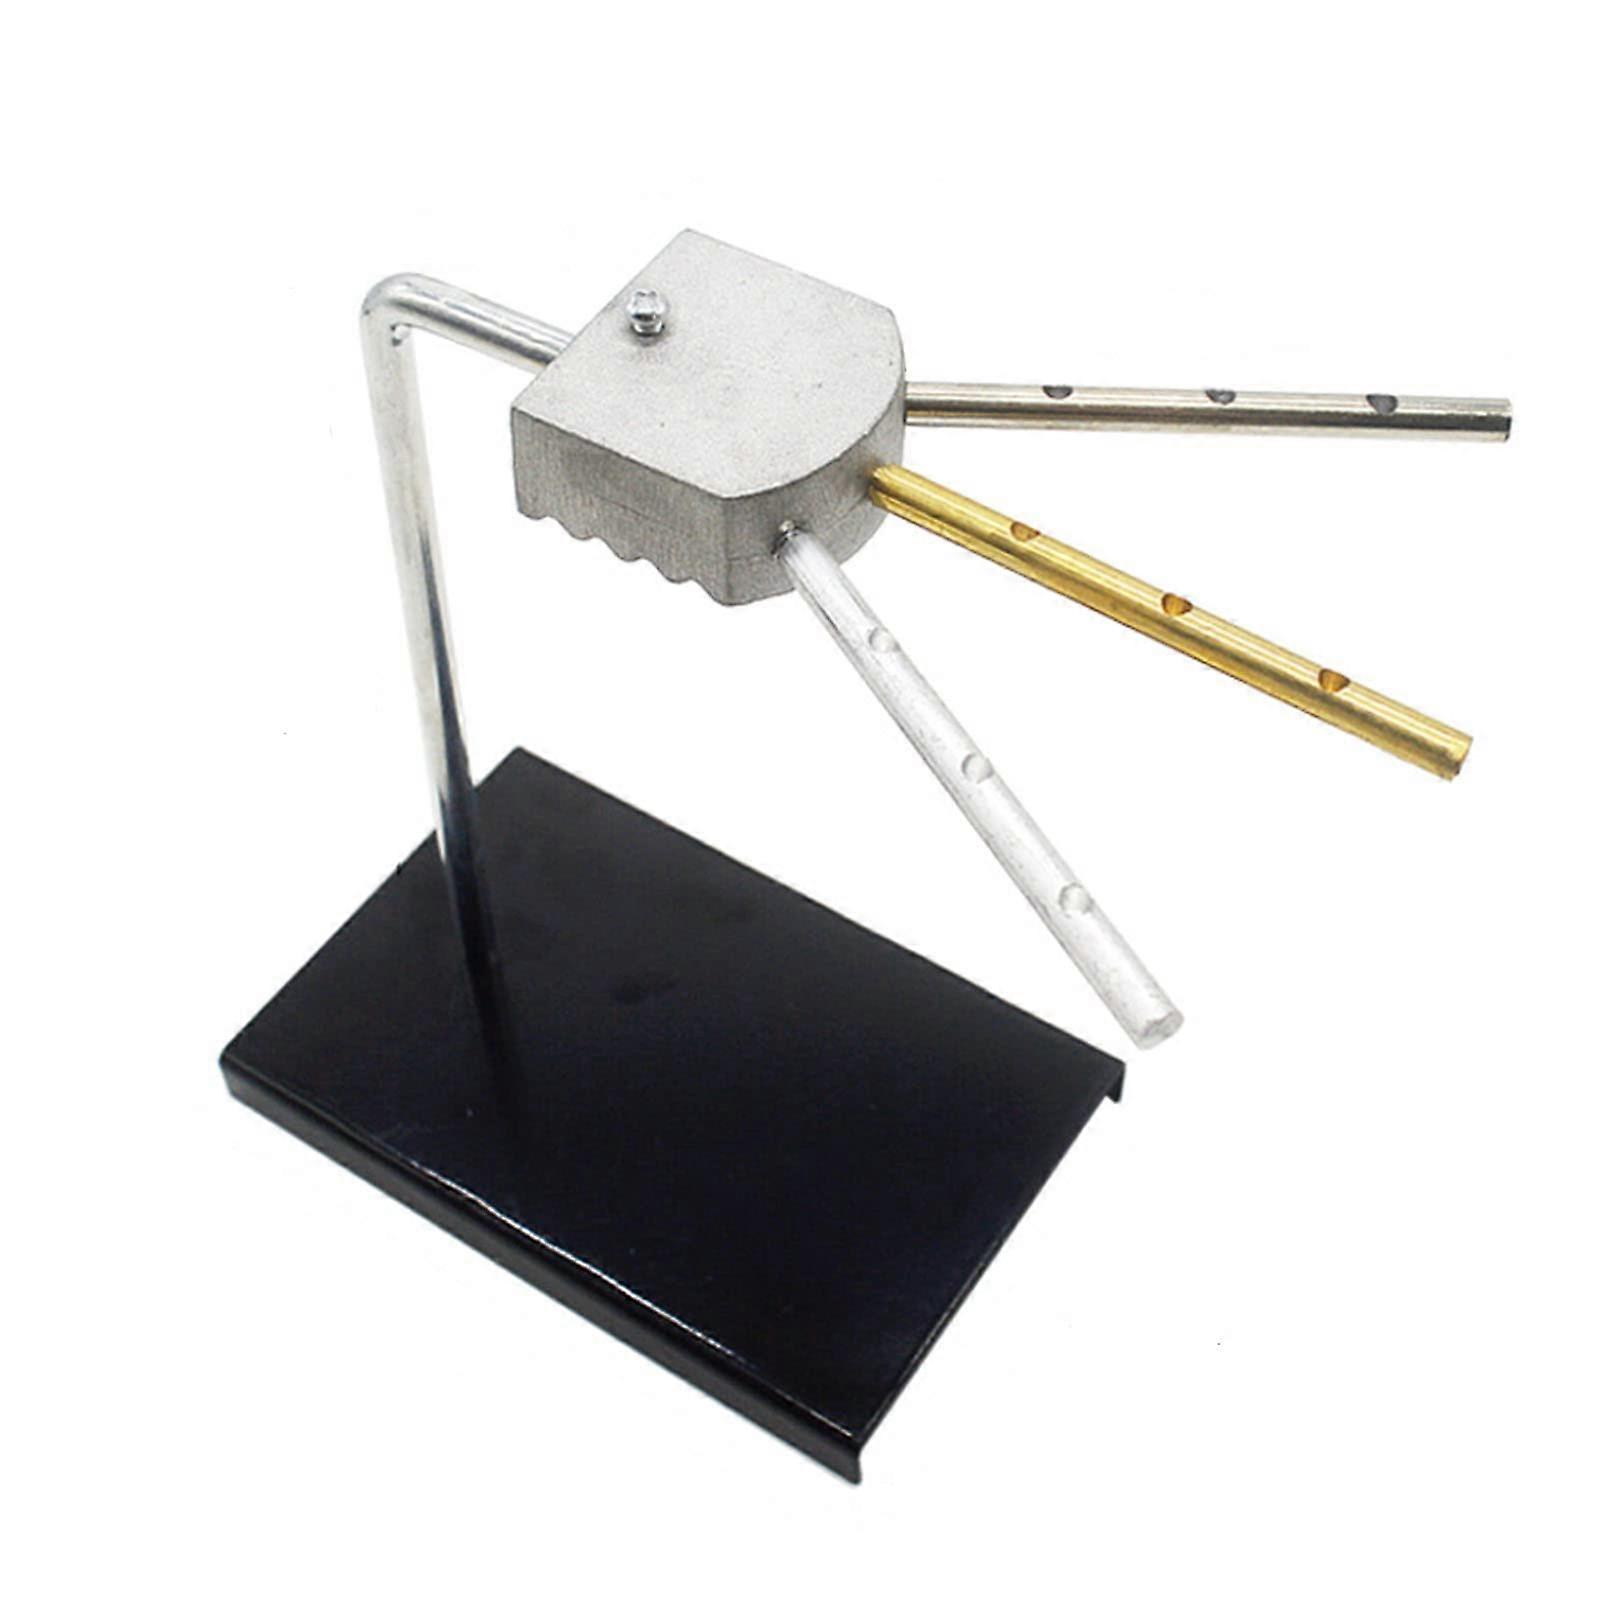
Heat storage block for heating
Heatconduction rods of identical thickness and length, arranged in a radiating layout
Large sticks attached to the base (pit) that can be inverted to show the heat transfer process and material differences
Designed for desktop use in middle school physics classrooms
The setup demonstrates heat conduction along the rods when the storage block is heated
How the demonstration works
The heat storage block is heated, causing heat to conduct outward along the identically sized heatconduction rods.
Conduction along each rod is observed from the concave contact area where a small amount of butter is spread to improve contact.
A match is inserted upright in the concave area of each rod to serve as a visual indicator of heat transfer along the rod.
As heat travels, the and timing of the matches' behavior on each rod reveal differences in thermal conductivity between materials.
Setup and demonstration steps
Place the instrument on a level desktop in a balanced position.
Spread a small amount of butter on the concave surface of each heatconducting rod.
Insert a match upright into the concave area of each rod.
Use an alcohol lamp to heat the heat storage block.
After a short period, observe the matches on each rod as heat transfer progresses and compare the results between rods.
Maintenance and care
After the experiment, allow the heatconducting rods to cool completely.
Wipe the rods clean, apply a light coat of oil, and store the instrument safely.
Take care not to drop the instrument or strike the heatconducting rods.
Specifications and usage notes
All heatconduction rods have identical thickness and length to ensure fair comparisons.
The demonstration uses a heat storage block and radiating rods to show heat transfer along each path.
Butter is applied to the concave contact surfaces to improve contact during demonstration.
The procedure specifies heating with an alcohol lamp and the use of matches as visual indicators.
Use scenarios
Inclass demonstration: students compare thermal conductivity of different solids by watching heat travel along identically sized rods and observing the timing of the matches.
Student projects: learners design experiments to rank materials by conductivity, using the rods to collect comparative data.
Science fair demonstrations: a clear exhibit showing how material choice affects heat transfer in a simple conduction experiment.
-
Fruugo ID:
463183228-974759639
-
EAN:
6091977550159