説明
F
itment:
For KTM 640 LC4(2005-2008)
For KTM 690 Duke(2008-2012)
For KTM 690 Enduro(2008-2015)
For KTM 690 SMC(2014-2015)
For KTM 790 Adventure(2019)
For KTM 790 Duke(2018-2019)
For KTM 950 (2003-2007)
For KTM 990 no ABS (2005-2013)
For KTM 990 ABS(2006-2010)
For KTM 990 Super Duke R(2008-2010)
For KTM 1090 RC8(2008-2016)
For KTM 1090 R(2008-2016)
(If you encounter any questions, please be sure to contact me first, please do not leave negative comments first, I very much hope to answer your questions, thank you)
Instructions Guide:
(Include use instructions in the package)
Disclaimer: Do not attempt to install the product if you dont have basic mechanical skills.
Notice:
-All connections can be done either under the fuel tank, at the ECU box or behind the instrument cluster.
The original motorcycle speedsensor connector is connected together. Please separate the connector and connect it with the two white connectors of the product (connect the speed signal cable). The green wire is connected to the crankshaft sensor signal line, using the Red wire tap connector supplied. No need to cut any wires and no need for soldering.
Confirmation:
Separate the Speed Sensor coupler (you might need to use a small flathead screwdriver to get the coupler apart). Rotate the front wheel while the ignition is on. Does the speedometer show 0, turn the ignition off and proceed to the next step. Otherwise, try again since you have disconnected something else.
3. After separating the Speed Sensor coupler, plug in both the male and female 3-pole harness connectors. Make sure the connectors are fully seated.
4. Find the tachometer signal wire.
690 Duke only: Find the tachometer signal wire in the loom that goes to the dashboard connector. It is a White/Blue wire (White with thin Blue stripe).
950/990 only: Trace the cable from the back of the tachometer (RPM counter) until you find the 3-pole natural color connector. The tachometer signal wire is in the middle pin position. It is a White/Blue wire (White with thin Blue stripe).
RC8 only: The tacho signal wire is in the 26-pin connector behind the instrument panel, in pin position 10 (top row, 4th wire from left to right at the back/wire side of the plug). It is a Black/Brown wire (Black with thin Brown stripe).
5. The green wire is connected to the crankshaft sensor signal line, using the Red wire tap connector supplied.
Set up:
-You need to setup the module after installation. When ignition is turned on, the display counts backwards (6 to 1) indicating that the memory is clear.
-Raise the rear wheel off the ground by using a stand, and start the engine in Neutral. (If you do not have a stand, you may setup the unit while riding. Find a long, straight road with light traffic.)
the screen displays L, indicating that learning is started.
accelerate through the handle throttle slowly
-The display will blink 1.Select first gear, release the clutch, and keep the RPM above idle speed. The display is blinking faster while the unit is learning the gear.
-When the display shows 2, select second gear.
Repeat this process until all gears are thought (5 or 6).
The unit is programmed and should indicate the gears correctly.
Now, when ignition is turned on, the display counts forward (1 to 6) indicating that it is fully functional.
(If there is an error in the learning process, please reset gear indicator, thank you)
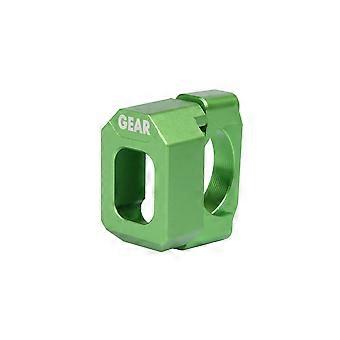
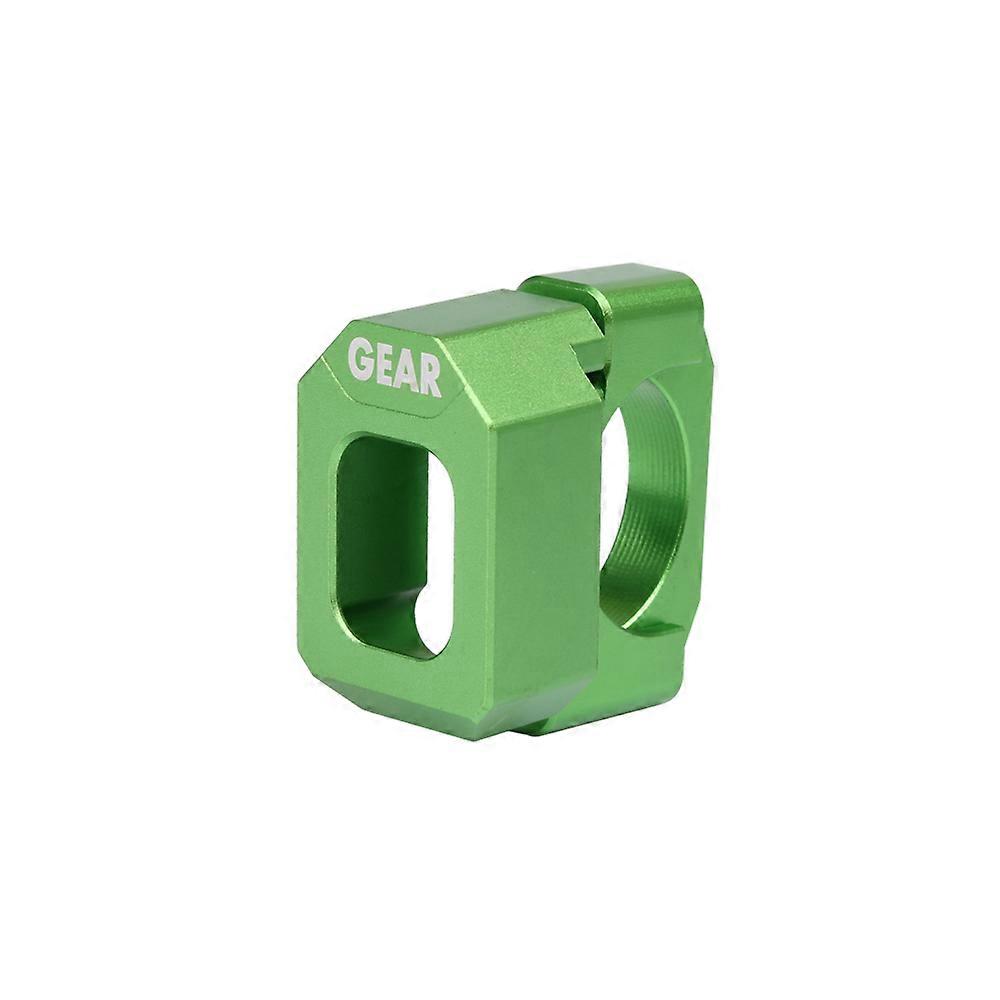
Package Include:
1 x Gear Indicator
-
ブランド:
Unbranded
-
カテゴリー:
ラジコンバイク
-
色:
Bracket-Green
-
Fruugo ID:
308105986-689879126
-
EAN:
568169735442
製品安全情報
以下に概説するこの製品に固有の製品安全性情報を参照してください。
以下の情報は、この製品を販売する独立したサードパーティ小売業者によって提供されています。
製品安全ラベル

安全上の警告:
Not suitable for children under 36 months, Choking Hazard, Adult supervision recommended
材料:
Polymethylsilsesquioxane